Easy Origami Easter Lily: Free Template Paper Craft
How to make paper Easter Lily flowers is a delightful project that will bring a touch of spring beauty into your home! Imagine crafting delicate, layered petals that unfold to reveal a graceful bloom, ready to brighten your Easter celebrations. This tutorial is perfect for complete beginners, including kids, and is a wonderful way to create beautiful handmade gifts or stunning decorations. You’ll be able to complete your first Easter Lily in about 15-20 minutes.
In this easy-to-follow guide, you’ll learn essential origami folding techniques to create the signature trumpet shape of the lily, assemble the petals for that full, natural look, and even how to add a simple center. Grab your free printable template, a pair of scissors, and let’s get folding! You’ll be amazed at what you can create with just a piece of paper.
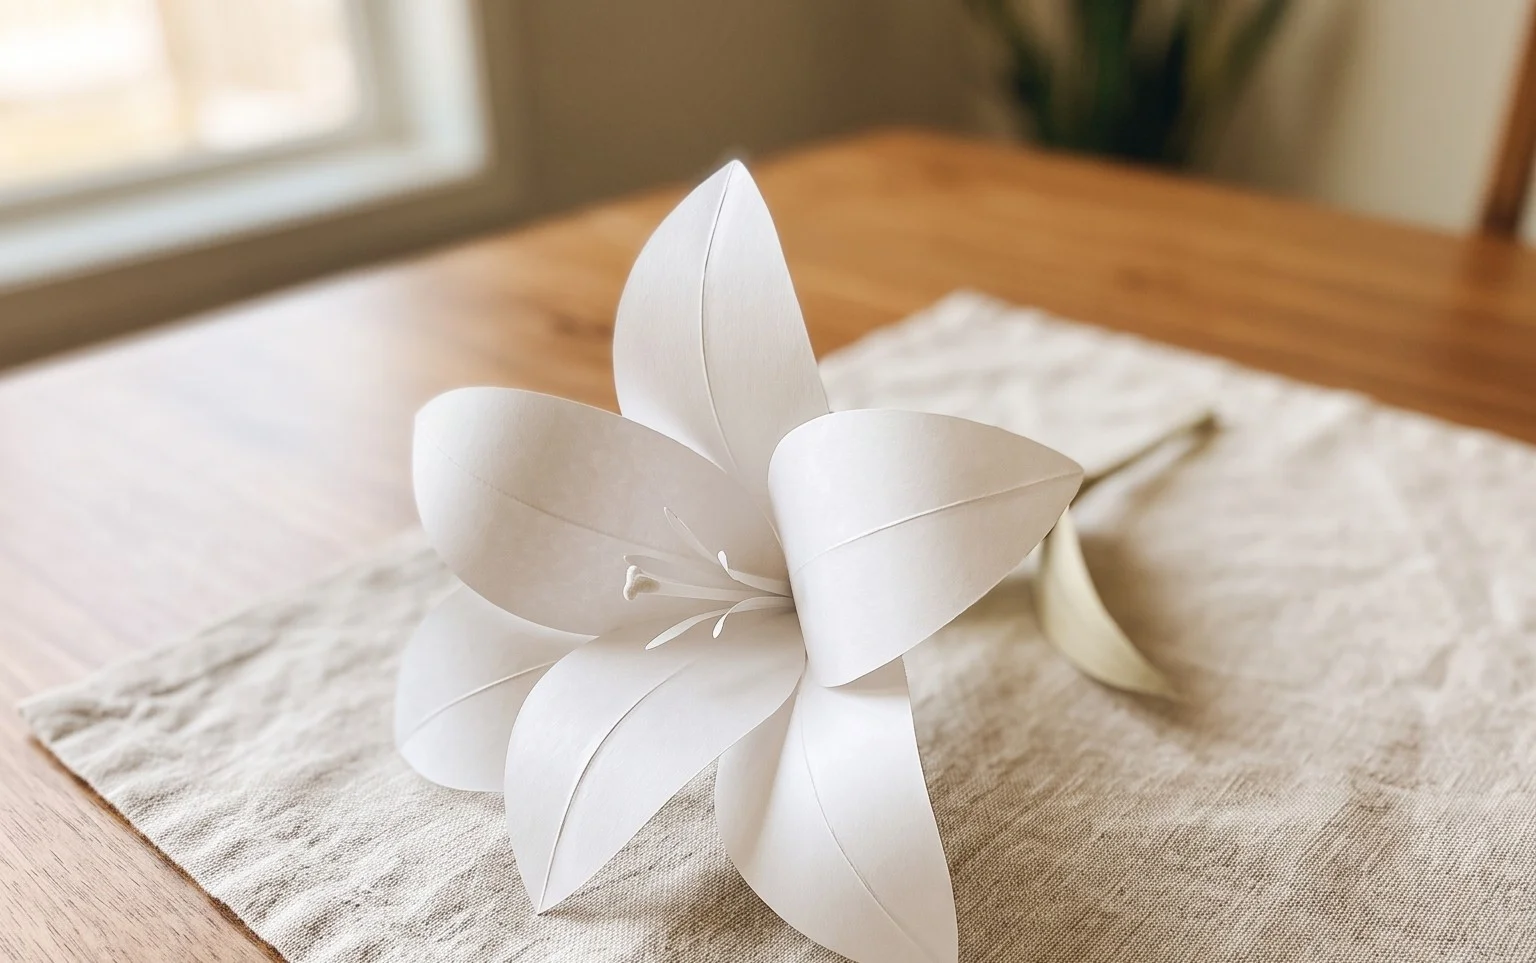
Making a Beautiful Origami Easter Lily: A Free Template Guide
Hello, fellow origami enthusiasts! Today, we’re going to embark on a delightful journey to create a stunning origami Easter Lily. This beautiful flower is surprisingly achievable, even for beginners, and with a little practice, you’ll be crafting a whole bouquet of these elegant blooms. I’ll guide you through each step with clear instructions, assuming you don’t have any diagrams to follow. We’ll also discuss the best paper to use, common pitfalls to avoid, and how you can customize your lilies. Let’s get started!
Choosing Your Paper: The Foundation of Your Lily
The right paper is crucial for a successful origami model. For this Easter Lily, I recommend using standard origami paper.
* **Type:** Origami paper is specifically designed for folding. It’s thin, strong, and holds creases well, which is essential for creating sharp, clean folds. If you don’t have origami paper, you can use thin printer paper, but be aware it might be a bit more prone to tearing.
* **Weight:** Standard origami paper is usually around 70-80 gsm (grams per square meter). This weight is perfect for intricate folds without being too bulky.
* **Size:** For this particular lily, a 6-inch (15 cm) square is a great starting point for beginners. It’s a manageable size to work with, allowing you to see your folds clearly. You can certainly go larger or smaller once you’re comfortable.
* **Single or Double-Sided:** For a beautiful white Easter Lily, single-sided paper with a white or off-white side and a colored side is ideal. This allows the colored side to show on the outside of the petals and the white side to be more subtle on the inside, mimicking the natural look of a lily. If you’re experimenting with patterned paper, double-sided will give a more consistent look.
Understanding the Base Folds: The Building Blocks
Before we dive into the lily itself, let’s familiarize ourselves with a couple of fundamental folds that are the building blocks of many origami models.
* **Valley Fold:** This is the most basic fold. You bring one edge or corner to meet another, creating a crease that dips inwards, like a valley.
* **Mountain Fold:** This is the opposite of a valley fold. After making a valley fold, you can invert the crease so it sticks outwards, like a mountain peak.
To make your folds cleanly, focus on precision. When bringing edges or corners together, align them perfectly. Then, run your fingernail or a bone folder firmly along the crease to make it sharp. This precision will make subsequent steps much easier and the final model much neater.
The Origami Easter Lily: A Step-by-Step Walkthrough
Let’s begin folding! We’ll assume you have a square piece of paper with the colored side facing up.
1. Start with your colored side facing up. Fold the paper in half diagonally by bringing the bottom right corner up to meet the top left corner. Crease well, then unfold.
2. Now, fold the paper in half diagonally in the other direction by bringing the bottom left corner up to meet the top right corner. Crease well, then unfold. You should now have an “X” crease pattern on your paper.
3. Flip the paper over so the white side is facing up.
4. Fold the paper in half horizontally by bringing the bottom edge up to meet the top edge. Crease well, then unfold.
5. Fold the paper in half vertically by bringing the left edge over to meet the right edge. Crease well, then unfold. You should now have a “+” crease pattern on the white side.
6. Now, we’re going to collapse the paper into a preliminary base. Hold the paper with the white side facing up. Gently push the left and right sides inwards along the vertical crease. As you do this, the top edge will naturally want to come down. Bring the top edge down to meet the bottom edge, collapsing the paper into a square. This is called a square base. The open edges should be at the bottom.
7. With the open edges of the square base pointing towards you, take the top layer of the right flap. Fold its right edge in to meet the center vertical crease. Crease well.
8. Repeat step 7 with the top layer of the left flap. Fold its left edge in to meet the center vertical crease. Crease well. You should now have a kite shape on the top layer.
9. Now, fold the small triangular flap at the top down over the kite shape you just created. Crease it along the top edge of the kite. This crease is important for later.
10. Unfold the last three folds (steps 7, 8, and 9). You should see the creases you’ve made.
11. This next step is a “petal fold.” Lift the bottom point of the top layer upwards. Use the creases you just made as guides. As you lift, the sides should naturally want to fold inwards along the creases. Flatten the paper by bringing the point all the way to the top, creating a diamond shape. The two side edges of the original kite shape will now form the outside edges of this diamond.
12. Flip the model over and repeat steps 7 through 11 on the other side. You should now have a shape that looks like a diamond with two “legs” at the bottom. This is often called a bird base.
13. Orient the bird base so the open “legs” are pointing down. Take the top layer of the right flap. Fold its left edge in to meet the center vertical crease. Crease well.
14. Repeat step 13 with the top layer of the left flap. Fold its right edge in to meet the center vertical crease. Crease well.
15. Flip the model over and repeat steps 13 and 14 on the other side. You should now have a narrower diamond shape with two points sticking out at the top.
16. Now, we’re going to create the petals. Take one of the two points at the top (these will become your petals). Gently pull it upwards and slightly outwards. As you pull, the sides of the model will want to open. We’re going to do an “inside reverse fold” here. Imagine you are opening up the model slightly from the sides. Push the point upwards and fold the side edges inwards along the existing creases, making the petal stand up. Flatten the base of the petal.
17. Repeat step 16 for the other top point. You should now have two petals standing up.
18. Flip the model over. You’ll see two more points at the top on this side. Repeat step 16 for these two points to create the remaining two petals. You should now have four petals arranged in a cross shape.
19. Now for the inner part of the lily. Look at the bottom of the model where you have four points sticking out. These are the stamens. Gently pull these four points outwards and slightly down, separating them. You can gently curl them outwards to give a more natural look.
20. To shape the petals, gently curl the tip of each petal outwards. You can do this by rolling the tip around a pencil or your finger. This gives the lily a more delicate and open appearance.
Common Beginner Mistakes and How to Avoid Them
Even with the clearest instructions, there are a few spots where beginners often stumble. Let’s address them!
* **Fuzzy Creases:** This is usually caused by not creasing firmly enough in the early stages. Remember to run your fingernail or a bone folder along every single crease. This makes the paper easier to manipulate in later steps and gives your final model sharp, defined lines.
* **Misaligned Corners/Edges:** When folding, take extra time to ensure that corners meet corners and edges align perfectly with other edges. Even a millimeter off can compound errors as you move through the steps, leading to a lopsided or poorly formed model. Be patient, and if a fold isn’t quite right, gently unfold and try again.
* **The Petal Fold (Step 11) and Inside Reverse Fold (Step 16):** These are the trickiest folds for many. For the petal fold, focus on using the creases you’ve already made as your guides. Gently lift the bottom point and allow the sides to collapse inwards along those lines. For the inside reverse fold, it helps to slightly open the model to make space for the fold. Imagine you’re pushing the point up from underneath and guiding the sides to fold inwards. It might take a couple of tries to get the feel for it!
Varying Your Easter Lily: Unleash Your Creativity!
The beauty of origami is its adaptability! Here’s how you can make your lilies unique:
* **Size:** As mentioned, a 6-inch square is a good start. For larger lilies, use 8-inch or even 10-inch squares. For miniature lilies, try 3-inch squares. Keep in mind that smaller sizes will require more dexterity.
* **Paper Pattern:** Don’t limit yourself to solid colors! Floral patterned origami paper can create incredibly realistic and beautiful lilies. Papers with subtle textures or gradients can also add depth.
* **Color:** While white is classic for Easter lilies, think about other colors! Soft pinks, yellows, and even pale purples can create stunning variations. You could even try a gradient paper where the color changes from one edge to another.
Displaying and Gifting Your Origami Lilies
Once you’ve folded your beautiful Easter lilies, you’ll want to show them off!
* **Centerpiece:** Arrange several lilies in a vase or a shallow bowl for an elegant table centerpiece. You can mix colors for a more vibrant display.
* **Gift Toppers:** Place a single lily on top of a gift box for a personal and handmade touch. It’s a lovely way to make any present feel extra special.
* **Wreath Decoration:** Attach them to a plain craft ring to create a beautiful Easter wreath.
* **Table Settings:** Place one on each person’s plate for a charming Easter dinner place setting.
* **Party Favors:** For an Easter party, a small origami lily can serve as a delightful party favor for guests to take home.
* **Incorporating into Other Crafts:** They can be glued onto cards, used in scrapbooking projects, or even incorporated into larger floral arrangements.
Making origami flowers is a wonderfully meditative and rewarding experience. I hope this guide has given you the confidence and knowledge to create your own beautiful origami Easter Lilies. Don’t be discouraged if your first few aren’t perfect – practice is key! Enjoy the process, and happy folding!
Conclusion
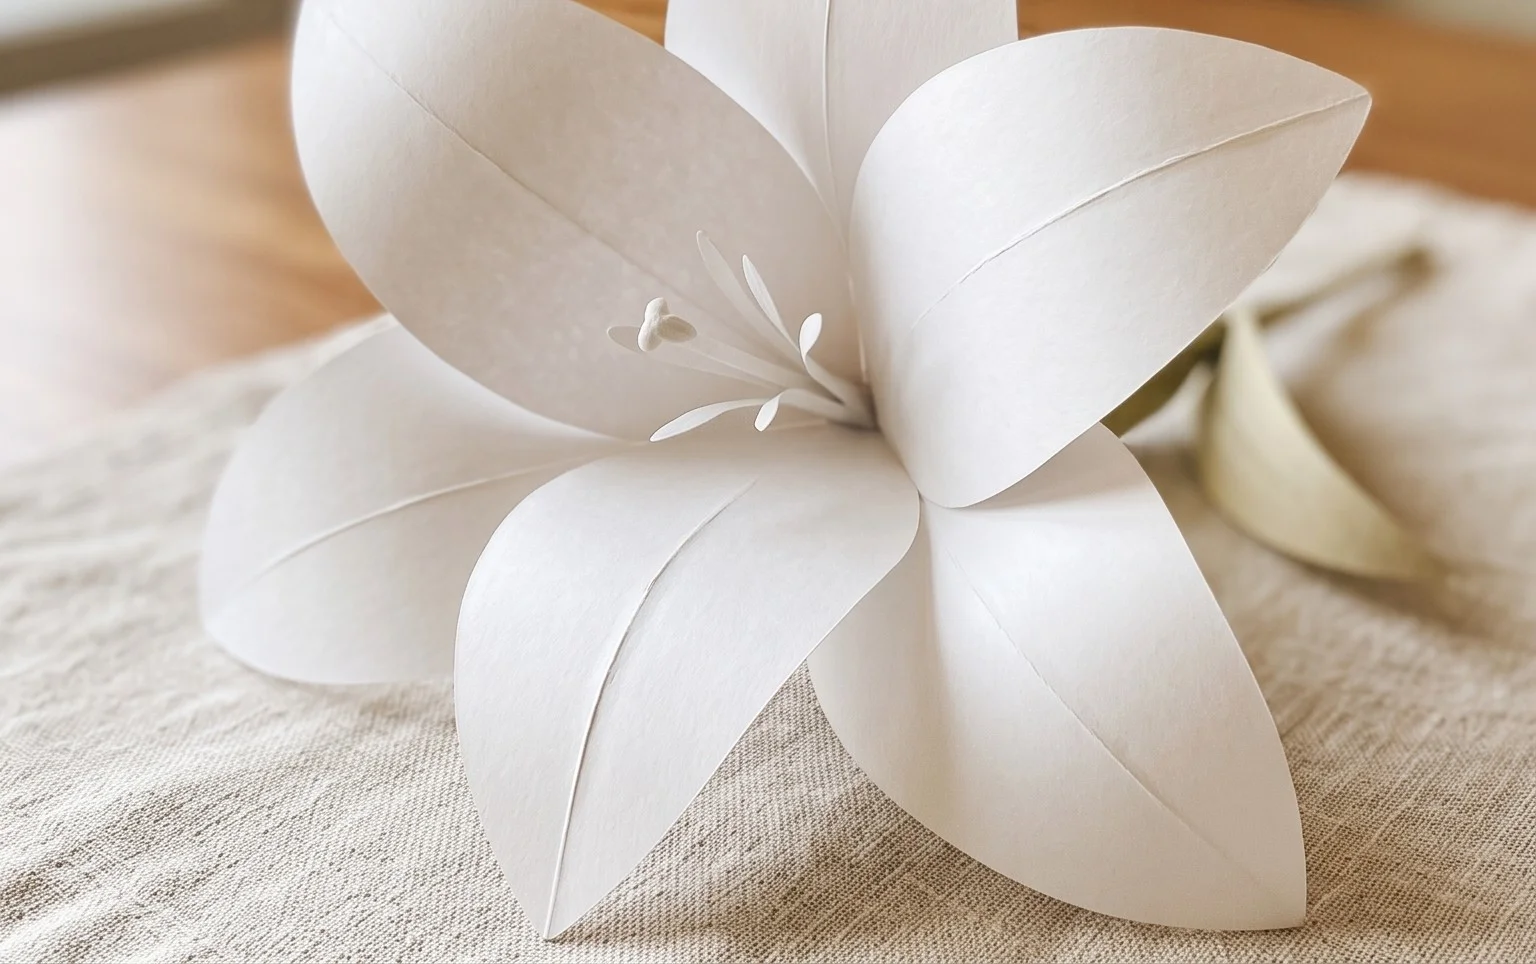
Congratulations on completing your beautiful paper Easter Lily! We hope you enjoyed this free template tutorial. Don’t worry if your first attempt isn’t perfect; every fold is a step in learning, and practice makes it even better. We’d love to see your stunning creations, so feel free to share them with friends and family! For your next crafting adventure, consider trying a slightly more intricate origami flower, perhaps a detailed rose, or even a simpler lily variation with colored paper. The world of paper crafting is vast and exciting! Come back soon to explore more delightful origami projects!
