Easy DIY Cat Origami: Step-by-Step Paper Craft
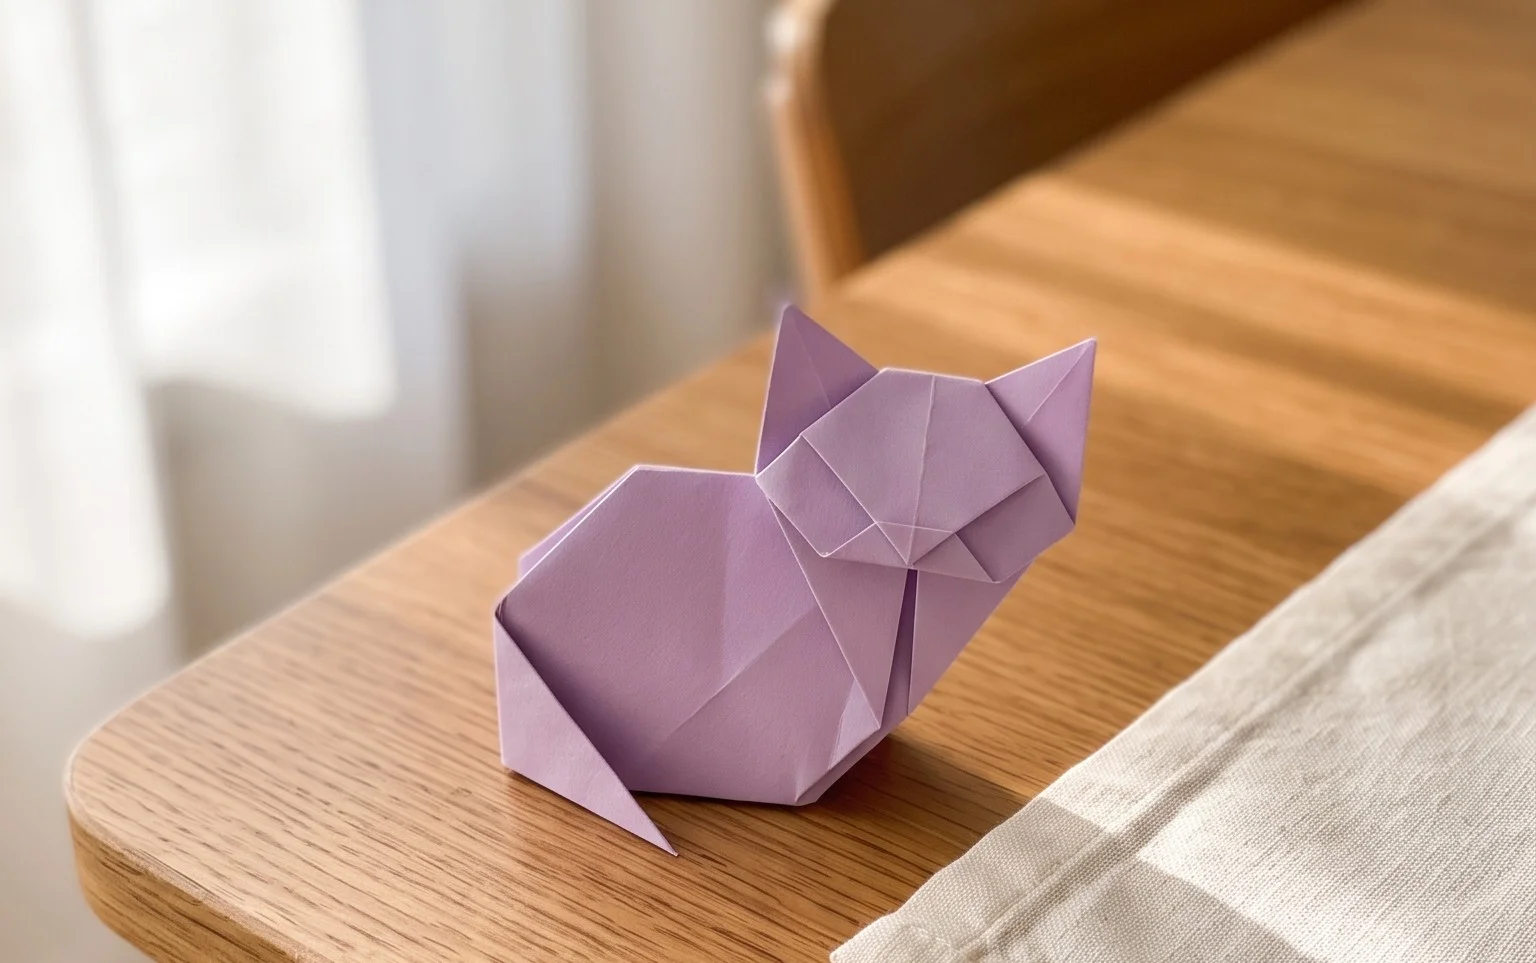
DIY Cat Origami is a purr-fectly delightful project that will bring a charming feline friend to life right on your desk! Imagine a cute, little cat, complete with pointy ears and a sweet face, folded entirely from a single sheet of paper. This is an incredibly fun and easy craft, ideal for complete beginners and kids alike, and it makes for a wonderful handmade gift or a charming decoration for any room. You can expect to create your adorable paper companion in under 15 minutes!
In this tutorial, I’ll guide you step-by-step through the simple folds needed to transform a square piece of paper into a recognizable kitty. We’ll cover all the essential techniques to get that iconic cat shape, and you’ll discover just how satisfying it is to see your creation take form. So grab a piece of paper and let’s get folding!
DIY Cat Origami: Free Tutorial for a Fun and Easy Craft
Welcome to WoDIYCraft! Today, we’re going to embark on a delightful crafting adventure and create our very own origami cat. This project is perfect for beginners, offering a satisfying and rewarding experience with a charming result. Get ready to transform a simple piece of paper into a cute feline friend!
Choosing Your Paper: The Foundation of Your Origami Cat
The paper you choose can significantly impact the look and feel of your origami cat. For this particular model, simplicity and crisp folds are key, so let’s talk about the best options.
Paper Type and Weight
For beginners, I highly recommend using standard origami paper. This paper is specifically designed for folding, meaning it’s thin enough to create many layers without becoming too bulky, yet strong enough to hold creases well. It usually has a matte finish which makes it easy to grip and fold. You can find origami paper in most craft stores or online.
If you don’t have dedicated origami paper, regular printer paper (around 70-80 gsm) can work in a pinch, but it might be a little stiffer and make some of the later folds a bit more challenging. Avoid cardstock or very thick paper, as it will be difficult to fold cleanly and create sharp points.
Paper Size
For this cat, a 6-inch by 6-inch (15 cm by 15 cm) square is a great starting point. This size is manageable for learning the folds and produces a nicely proportioned cat. If you find yourself wanting to make larger or smaller cats later on, you can easily adapt by using larger or smaller square sheets.
Single or Double-Sided Paper
This is a fun choice! You can use single-sided origami paper, where one side is coloured and the other is white. This will give your cat a white belly and face, which can be quite cute. Alternatively, you can use double-sided coloured paper, which will result in a cat that’s coloured all over. Both options are equally wonderful, so pick what appeals to you!
Mastering the Base Folds: The Building Blocks of Your Cat
Before we dive into the cat sequence, let’s get comfortable with a couple of fundamental origami folds. Making these accurately will make the entire process much smoother.
The Valley Fold
A valley fold is when you fold a piece of paper towards you, creating a crease that resembles a valley. Imagine you are bringing two edges together. The paper bends inwards. When you make a valley fold, run your fingernail along the crease firmly to ensure it’s sharp and defined.
The Mountain Fold
A mountain fold is the opposite of a valley fold. You fold the paper away from you, creating a crease that resembles the peak of a mountain. If you’ve made a valley fold and then unfold the paper, the crease line can be used as a guide for a mountain fold. You’ll be folding along that existing line, but in the opposite direction. Again, a firm crease is essential.
Your Origami Cat: A Step-by-Step Journey
Now, let’s get folding! We’ll go through this step-by-step, so take your time and enjoy the process. I’ll describe each fold in plain language, assuming you have a flat surface to work on.
1. Start with your square piece of paper. If you are using single-sided paper, place it on your flat surface with the coloured side facing down and the white side facing up. This will be the inside of our cat.
2. Bring the bottom edge of the paper up to meet the top edge. Fold the paper in half horizontally, creating a crisp crease across the middle. You should now have a rectangle.
3. Now, open the paper back up. You should see a horizontal crease line in the middle.
4. Take the left edge of the paper and bring it over to meet the right edge. Fold the paper in half vertically, creating a crisp crease down the middle. You will now have a smaller rectangle.
5. Open the paper back up. You should now have two crease lines, one horizontal and one vertical, dividing your square into four equal sections.
6. Rotate your paper so it looks like a diamond, with one corner pointing towards you and one pointing away. The coloured side should be facing up.
7. Take the bottom corner (the one pointing towards you) and bring it up to meet the top corner. Fold the paper in half diagonally. Crease firmly. You will now have a triangle.
8. With the triangle still folded, place it so the longest edge is at the bottom and the point is at the top.
9. Take the right-hand corner of the triangle and fold it upwards, so that the edge that was previously the bottom edge of the triangle now aligns with the centre vertical crease line. The point you’re folding upwards should be angled slightly outwards. Crease firmly.
10. Repeat step 9 with the left-hand corner. Take the left-hand corner of the triangle and fold it upwards, aligning its bottom edge with the centre vertical crease line. Again, angle the point slightly outwards. Crease firmly. You should now have a shape resembling a kite with two flaps at the top.
11. Now, let’s make the ears. Take the point you’ve just folded up on the right side (this will be one of the ears). Fold this point downwards, at an angle. The fold should start from the top point of the original triangle (where the two corners met) and angle downwards, creating a triangular flap that forms the cat’s ear. Crease firmly. The tip of this fold should not go past the horizontal line created by the top of the kite shape.
12. Repeat step 11 for the left ear. Take the point you folded up on the left side and fold it downwards at a similar angle to create the second ear. Crease firmly.
13. Now, flip the entire model over so you are looking at the other side.
14. Take the bottom point (which is now facing upwards) and fold it upwards. This fold should be about halfway up the model, or slightly less. This forms the cat’s head and chin. Crease firmly.
15. You’ll notice the point you just folded up has a small flap at the very tip. Take this tiny tip and fold it downwards. This is like a little chin tuck, and it helps to create a softer look for the cat’s face. Crease firmly.
16. Flip the model back over to the side with the ears. Your origami cat is almost complete! You can gently shape the ears if you like, perhaps by slightly curving them outwards.
Common Pitfalls and How to Avoid Them
Even with clear instructions, there are a couple of places where beginners might find themselves a little stuck. Don’t worry, these are totally normal!
Overly Thick Creases
The most common issue is not making creases sharp enough. This can lead to the paper not holding its shape, or subsequent folds not lining up correctly.
* **How to Avoid:** Always use your fingernail or a bone folder (if you have one) to press down firmly along each crease. Imagine you are pressing the fold into the paper permanently. Go over each crease at least twice.
Misaligned Corners and Edges
Sometimes, when bringing corners to edges, they might be just a millimeter or two off. This can create a lopsided cat.
* **How to Avoid:** Take your time with each fold. Before you commit to creasing, gently align the edges or corners and then pinch the paper slightly to hold them in place. Look at your model from different angles to ensure everything is lined up as precisely as possible. Precision is key in origami!
Confusing Up/Down or Left/Right Folds
The directions for the ears can sometimes be tricky.
* **How to Avoid:** Focus on the description: “Take the point you’ve just folded up… Fold this point downwards.” Visualize that you are taking the existing upward-pointing flap and making a new fold that sends it in the opposite direction. For the ears, you are essentially creating a “reverse fold” within the flap. Don’t be afraid to gently unfold and refold if it doesn’t look right the first time.
Varying Your Origami Cat: Unleash Your Creativity!
Once you’ve mastered the basic cat, the fun truly begins with variations!
Size Matters
As mentioned earlier, you can use any size square paper. Larger squares will result in bigger cats, perfect for display on a shelf. Smaller squares are ideal for creating a whole litter of tiny felines to adorn a card or a gift.
Paper Patterns and Colours
This is where you can let your imagination run wild!
* **Patterned Paper:** Use paper with cute animal prints, floral designs, geometric patterns, or even metallic finishes. This will give your cat a unique personality.
* **Colour Combinations:** If you’re using double-sided paper, you can experiment with which colour is on the outside. You could even try using different coloured paper for different parts if you’re feeling adventurous and want to cut and glue, though for pure origami, stick to the square.
* **Textured Paper:** Some specialty papers have interesting textures that can add another dimension to your cat.
Adding Details
While this is a simple model, you can add little touches.
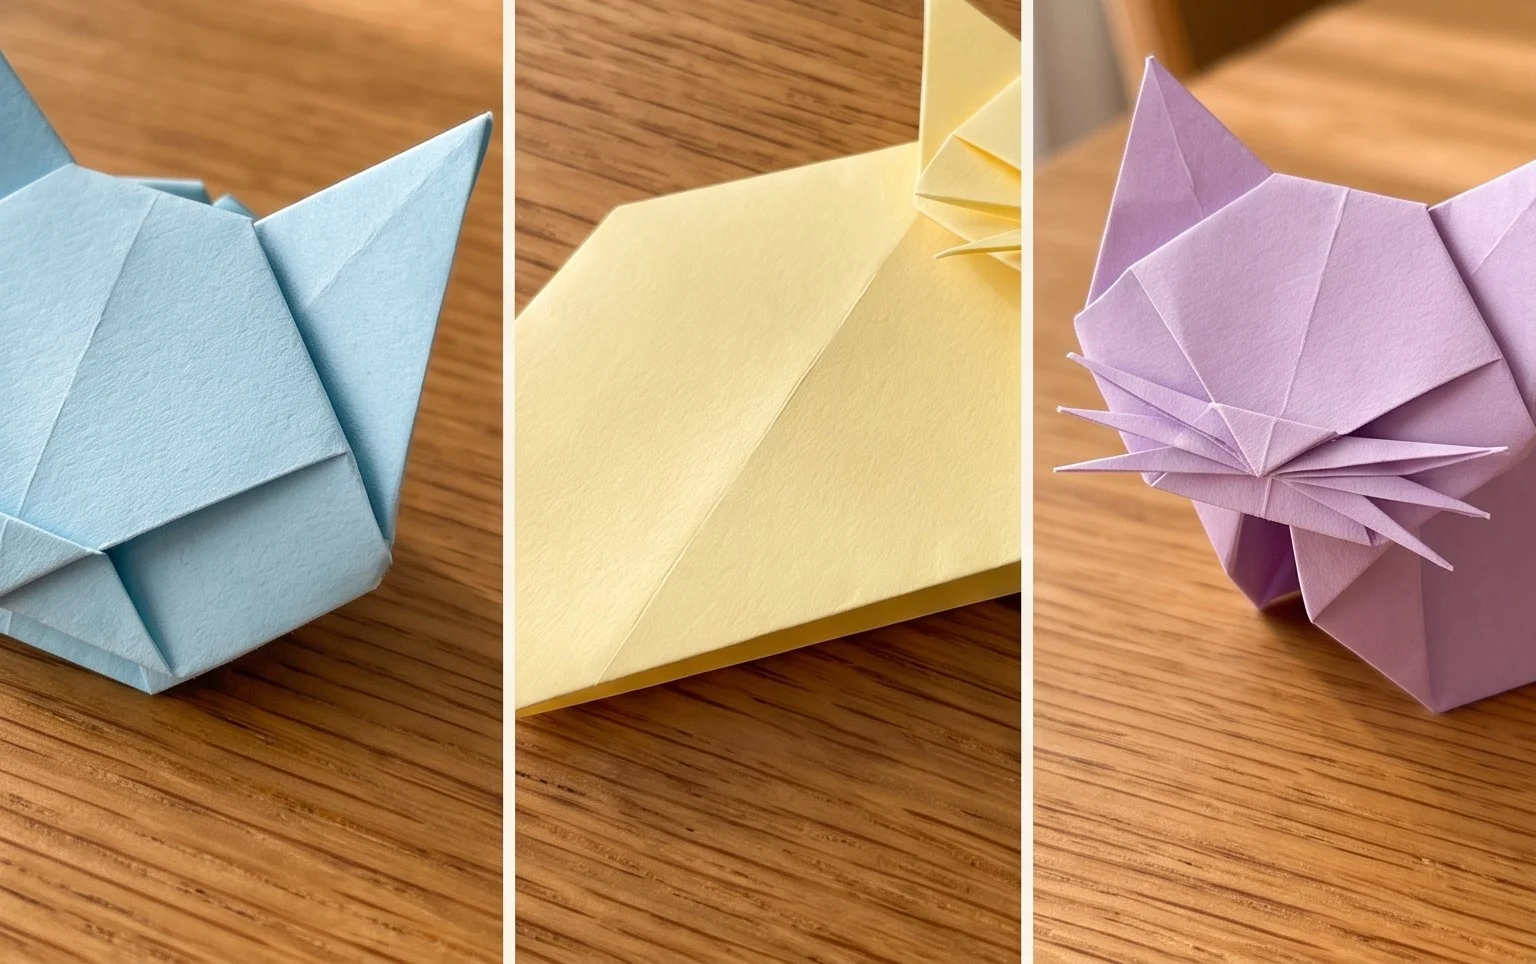
* **Eyes and Nose:** After folding, you can use a fine-tip marker to draw on eyes and a nose. This brings your cat to life!
* **Whiskers:** Tiny black dots or even thin lines drawn for whiskers can be a sweet addition.
Displaying and Gifting Your Origami Cat Creations
Your completed origami cats are too cute to keep to yourself!
Display Ideas
* **Desk Buddies:** Place them on your desk for a cheerful companion while you work or study.
* **Shelf Decor:** Arrange a few cats of different sizes or colours on a bookshelf for a charming decorative touch.
* **Mobile:** String them together to create a playful origami mobile.
* **Part of a Scene:** Use them as characters in a larger diorama or play scene.
Gifting Ideas
* **Gift Toppers:** Tie a small origami cat to the ribbon of a gift for an extra special presentation.
* **Card Embellishments:** Glue a cat onto a handmade card for a personal and artistic touch.
* **Party Favors:** For a cat-themed party, these little origami friends make wonderful, inexpensive favors.
* **Small Gifts:** A few well-folded cats can be a delightful surprise gift on their own, especially for someone who appreciates handmade crafts.
I hope you’ve enjoyed this origami cat tutorial! Remember, practice makes perfect. Don’t be discouraged if your first few attempts aren’t flawless. Each fold you make will bring you closer to mastering this fun and rewarding craft. Happy folding from WoDIYCraft!
Conclusion
Congratulations on completing your very own DIY Cat Origami! We hope you had a fantastic time creating this adorable paper pet. Remember, your first attempt is all about learning and having fun – don’t worry if it’s not perfect! Practice makes purr-fect, and soon you’ll be folding these charming cats with ease.
We’d love to see your finished feline friends! Feel free to share your creations. For your next origami adventure, why not try folding a playful dog or a majestic crane? There are so many wonderful paper projects waiting to be discovered at WoDIYCraft.com. Keep folding and creating!