Easy Accordion Paper Snake Craft: Fun & Simple
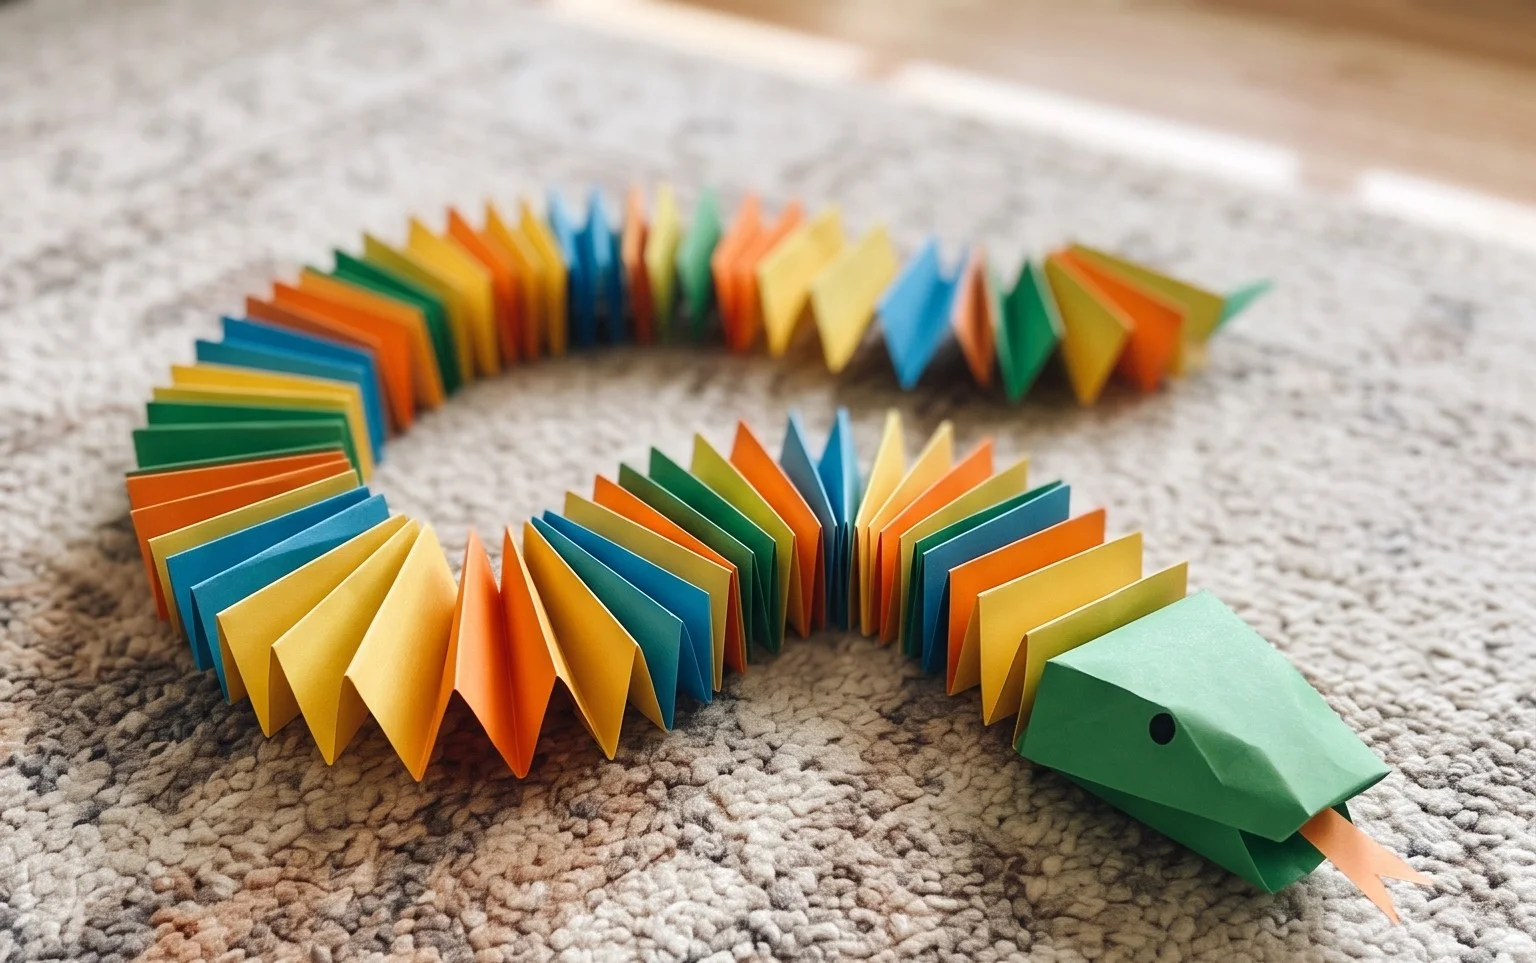
Accordion Paper Snake Craft is an absolute delight to make! Imagine a vibrant, slithery snake, its body a series of neat, colorful pleats, ready to wiggle and weave its way into your heart. This project is wonderfully easy peasy, perfect for complete beginners, little hands just exploring the magic of folding, or anyone looking for a quick and fun crafting session – we’re talking under 15 minutes here!
Whether you’re crafting for a child’s party, looking for a charming classroom activity, or simply want to create a cheerful decoration for your desk or a handmade gift, this accordion snake is your answer. You’ll learn the simple yet effective technique of accordion folding to build a fantastic 3D form from just a single strip of paper. Get ready to unleash your creativity and have some serious fun!
Here’s a detailed tutorial for making your Accordion Paper Snake, perfect for beginners!
Accordion Paper Snake Craft – Easy Peasy and Fun
Hello, crafty friends! Today, we’re diving into a super simple and incredibly satisfying origami project: the Accordion Paper Snake. This craft is so easy, it’s practically magic, and the results are surprisingly charming. It’s a fantastic way to use up scrap paper, a fun activity for kids, or just a relaxing way to unwind. We’ll walk through every step, ensuring you can create your own slithery friend with confidence. Let’s get started!
Choosing Your Paper: The Foundation of a Happy Snake
The paper you choose is the backbone of your origami creation. For this snake, we want something that can hold a crisp fold and has a bit of flexibility. Let’s break down the best options:
- Type: Standard copy paper is perfectly fine and readily available. If you want something a bit more special, origami paper is a great choice because it’s designed for folding and often comes in beautiful colours and patterns. You can also use construction paper, but be aware that it’s thicker and might be a little harder to get super crisp folds, especially for beginners.
- Weight: For copy paper, a standard 20-24 lb weight is ideal. Origami paper is usually lighter, around 60-80 gsm, which is perfect. Avoid cardstock; it’s too thick and will make the accordion folds very bulky and difficult to manage.
- Size: A good starting size for your snake is an A4 sheet of paper (which is roughly 8.3 x 11.7 inches) or a standard US Letter size (8.5 x 11 inches). You can also use square origami paper, but you’ll need to trim it to a rectangle first. A longer, narrower rectangle will make a longer, thinner snake, while a wider rectangle will result in a shorter, thicker one. Experimentation is key!
- Single or Double Sided: This is entirely up to your preference!
- Single-sided paper: If you use paper that’s coloured on one side and white on the other, your snake will have alternating coloured and white sections, which can look quite striking.
- Double-sided paper: Using paper that’s coloured on both sides will give you a consistently coloured snake.
- Patterned paper: This is where things get really fun! Patterned paper can add a lot of personality to your snake. Just ensure the pattern is not too busy, as it can sometimes be hard to see the fold lines.
The Base Folds: Creating the Accordion
The core of our snake is the simple accordion fold. This is a technique used in many crafts and origami projects, and it’s wonderfully straightforward.
Here’s how to make clean accordion folds:
- Crease with Purpose: When you fold, use your fingernail or a bone folder (if you have one) to run along the edge of the fold. This creates a sharp, defined crease.
- Align Carefully: Take your time to align the edges and corners precisely before you make a fold. Even a small misalignment can make subsequent folds trickier.
- Work on a Flat Surface: Always fold on a hard, flat surface like a table or desk. This will help you achieve crisp, straight folds.
Your Origami Snake: A Step-by-Step Fold Sequence
Let’s get folding! Imagine you have your rectangular piece of paper in front of you. For these instructions, we’ll assume you are looking at the side of the paper you want to be the primary colour of your snake.
- First Fold: Place your paper horizontally in front of you. Take the top long edge of the paper and fold it down to meet the bottom long edge perfectly. Make a sharp crease along the folded edge. You should now have a long, thin rectangle that is half the original height.
- Unfold: Open the paper back up. You’ll see a horizontal crease line running across the middle of your paper. This is our guide.
- The First Accordion Fold: Now, we’re going to make our first accordion fold. Imagine the paper is still horizontal. Take the top edge of the paper and fold it down to meet the crease line you just made in the center. The edge should line up perfectly with the centre crease. Make a very sharp crease.
- The Second Accordion Fold: Now, take the bottom edge of the paper and fold it up to meet the same centre crease line. Again, ensure the edge lines up precisely with the centre crease. Crease this fold very firmly.
- Flipping and Repeating: You should now have a narrower rectangle where the top edge and bottom edge have met in the middle. Now, flip the entire piece of paper over.
- Third Accordion Fold: You’ll see the same centre crease line on this side. Take the new top edge (which was the original bottom edge) and fold it down to meet the centre crease. Crease firmly.
- Fourth Accordion Fold: Take the new bottom edge (which was the original top edge) and fold it up to meet the centre crease. Crease firmly.
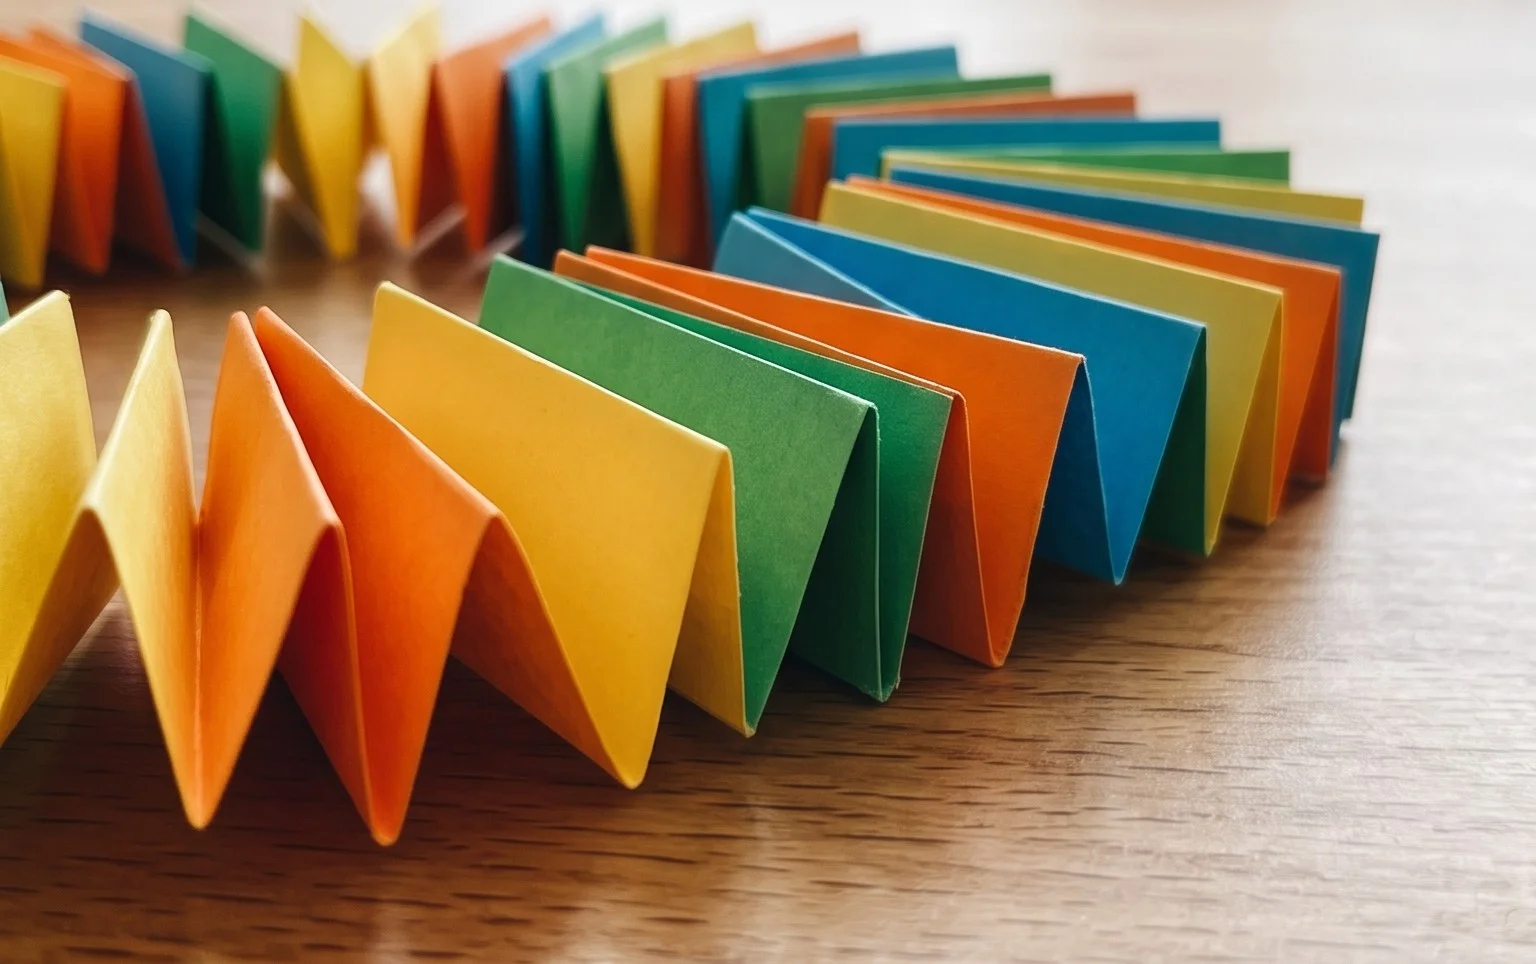
- The Accordion is Formed: You should now have a much narrower strip of paper. If you look at it from the side, you’ll see a series of pleats or folds, resembling an accordion.
- Making it Slither: This is the fun part! Gently pull apart the two ends of the accordion. As you pull, the folds will expand, creating the segmented body of your snake. You can stretch it out as much or as little as you like.
- Adding the Head: To give your snake a head, gently pinch one end of the accordion. You can either just pinch it to create a slightly thicker “head” area, or if you want a more defined head, you can carefully make a small zig-zag fold or two at the very end. Experiment with what looks best to you!
- The Tail: The other end will naturally taper as you pull it apart, forming a nice tail.
Common Pitfalls and How to Avoid Them
Even with simple crafts, beginners sometimes run into a few snags. Here are the most common issues when making an accordion snake and how to avoid them:
- Messy Folds: This often happens when the paper isn’t aligned properly before creasing, or the crease itself isn’t sharp enough.
- Avoidance: As mentioned, always align your edges perfectly before creasing. Make sure you’re pressing down firmly along the entire fold line with your fingernail. Work on a hard surface.
- The Snake Doesn’t Expand Well: If your accordion folds are too tight or not creased well, the snake won’t open up smoothly.
- Avoidance: Ensure your initial folds in steps 3, 4, 6, and 7 are made to meet the centre crease precisely, but not overlapping it. If the folds are too close together, you won’t have enough room for expansion.
- Uneven Sides: Sometimes one side of the accordion can be slightly more expanded than the other, making the snake look a bit lopsided.
- Avoidance: This usually goes back to the quality of your initial folds. If you’re consistently getting uneven sides, try to be extra mindful of aligning the paper perfectly and creasing each fold with equal pressure on both sides of the paper. When you pull the ends to expand, try to pull them evenly.
Varying Your Snake: Unleash Your Creativity!
The beauty of this craft is its versatility. Once you’ve mastered the basic technique, you can play around and create all sorts of unique snakes:
- Size Matters:
- Longer Snakes: Start with a longer, narrower rectangle. You can achieve this by cutting a standard piece of paper lengthwise.
- Shorter Snakes: Use a wider rectangle. You can get this by cutting a standard piece of paper crosswise.
- Mini Snakes: Use smaller paper, like squares from scrapbooking paper or even cut strips from larger sheets.
- Paper Patterns and Colours:
- Rainbow Snakes: Use strips of paper in different colours and glue them end-to-end to create a rainbow effect before folding.
- Pattern Play: Use patterned paper for each segment, or alternate patterned and plain paper.
- Metallic and Glitter: For a touch of glamour, try using metallic or glitter paper.
- Adding Features:
- Eyes: Once your snake is fully expanded, you can draw or glue on small googly eyes to its head.
- Tongue: Cut a small, thin strip of red paper and glue it emerging from the snake’s mouth area.
Displaying and Gifting Your Paper Snake
Your handmade accordion snake is more than just a craft; it’s a little piece of art! Here are some ideas for showing off your slithery creation:
- Desk Buddy: Place your snake on your desk as a cheerful companion during work or study. Its flexible nature means you can pose it in fun ways!
- Party Decorations: String several snakes together to create a garland for a jungle-themed party or a child’s birthday celebration.
- Dioramas and Play Scenes: These snakes are perfect additions to dioramas or small world play setups.
- Classroom Displays: They add a fun, tactile element to classroom displays about animals or crafts.
- Unique Gift: A handmade origami snake makes a thoughtful and charming gift. Package it in a small box or a clear cellophane bag with a colourful ribbon. It’s especially nice for someone who appreciates handmade items or has an interest in origami. You could even attach a little tag saying “Hope this snake brings a smile to your face!”
- Science Projects: Discuss the concept of expansion and contraction, or use them as visual aids when talking about reptiles.
And there you have it! Your very own Accordion Paper Snake. I hope you enjoyed this simple yet engaging craft. Experiment with different papers and sizes, and have fun creating your own slithering collection!
Conclusion
Congratulations on completing your adorable Accordion Paper Snake! We hope you had as much fun making this easy peasy craft as we did designing it. Don’t worry if your first attempt isn’t perfect; every fold is a learning opportunity, and practice makes your origami skills shine. Share your slithering creations with friends and family – they’ll be amazed! For a fun twist, try using patterned paper or adding googly eyes for an extra touch of personality to your Accordion Paper Snake. Ready for more paper adventures? Explore our other tutorials for even more delightful DIY projects!