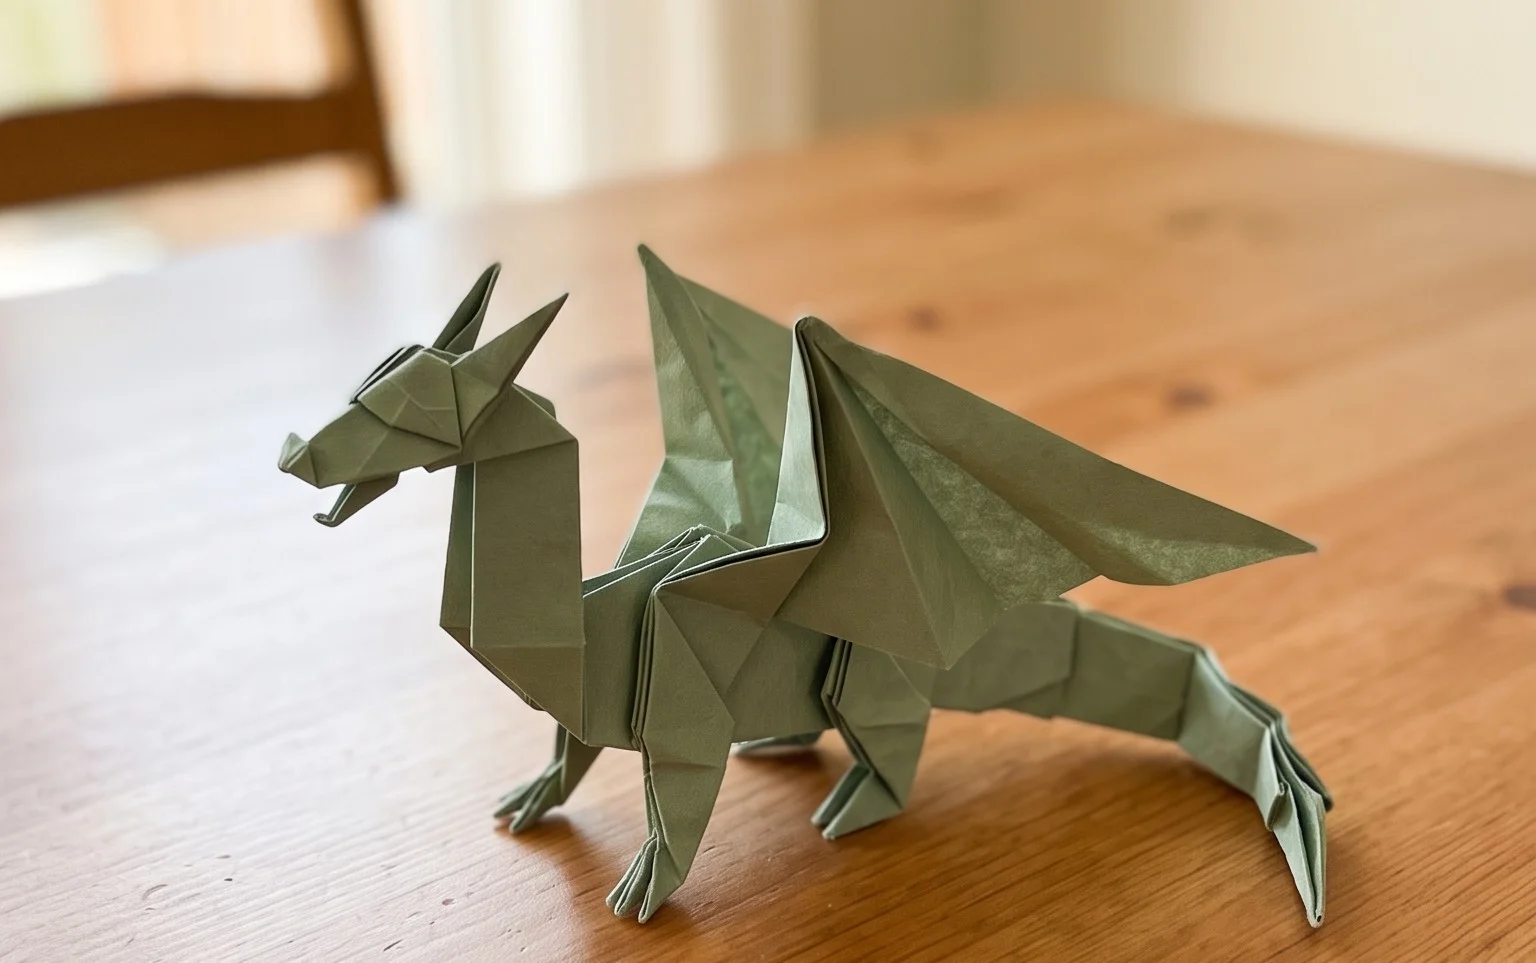
Easy Origami Dinosaur: Step-by-Step Paper Craft
Origami Dinosaur creations are a fantastic way to bring prehistoric pals to life! Get ready to fold a charming, stylized dinosaur, complete with a sturdy body, a long neck, and a playful tail. This project is perfect for complete beginners and young aspiring paleontologists, taking about 15-20 minutes from start to finish. It makes for a wonderful desk decoration or a unique handmade gift.
In this tutorial, I’ll guide you through each simple fold, transforming a flat square of paper into a three-dimensional creature. You’ll learn fundamental origami techniques like valley and mountain folds, as well as how to create sharp creases for a polished look. Let’s dive in and make some dino-mite art!
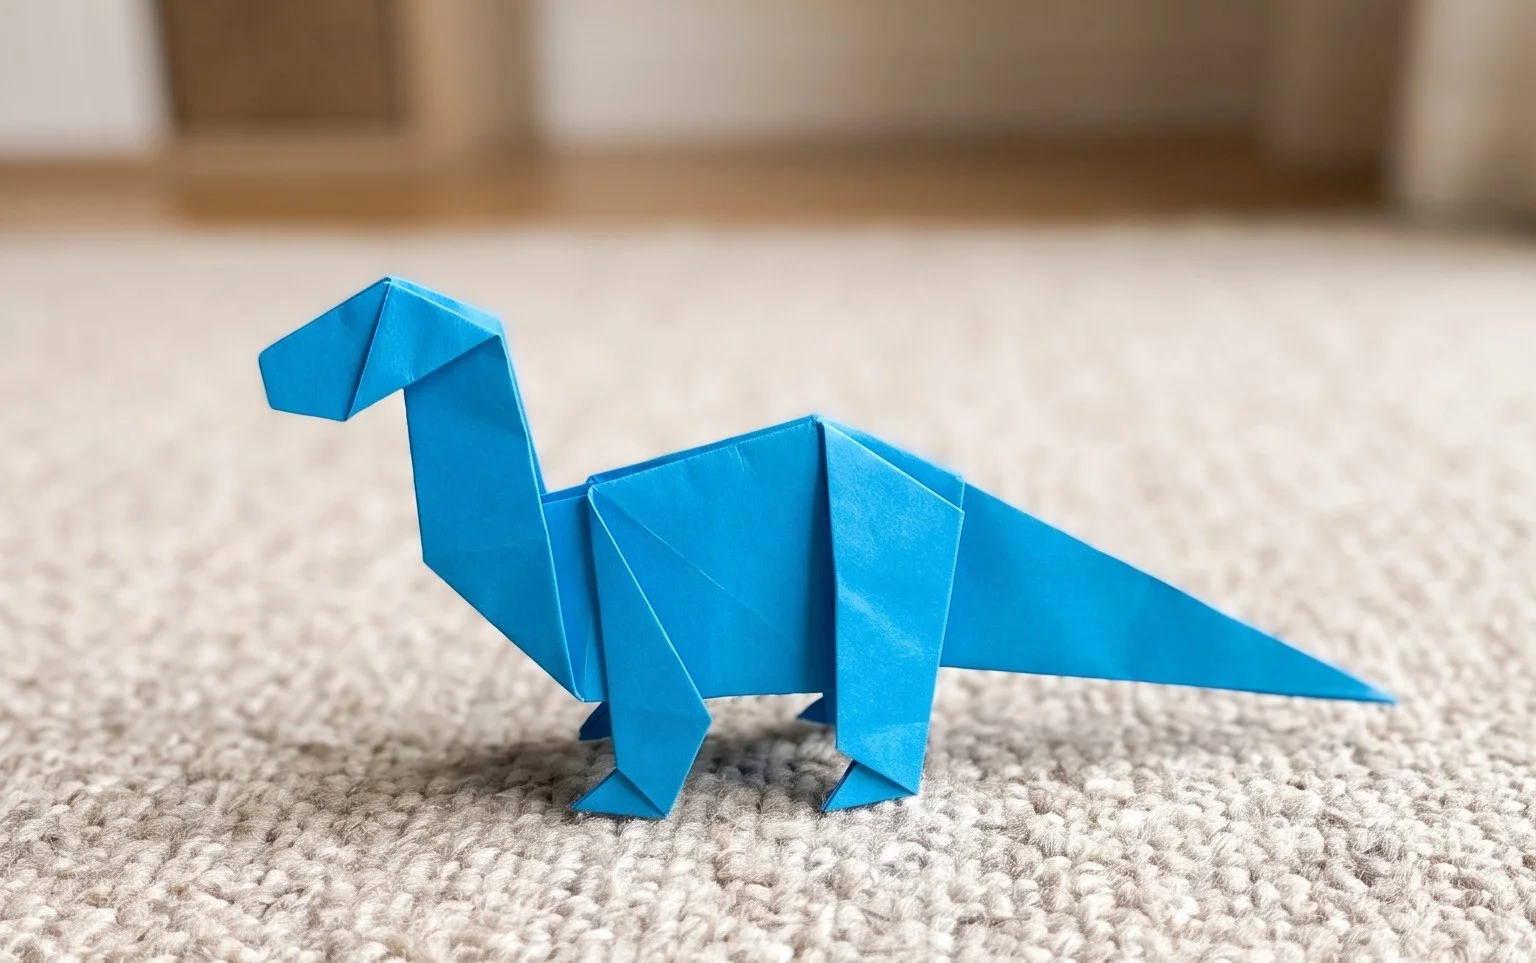
Origami Dinosaur: Step-by-Step Instructions
Hello there, fellow origami enthusiast! Today, we’re embarking on a prehistoric adventure to create our very own origami dinosaur. This model is a fantastic introduction to some fundamental origami techniques, and the result is a charming creature that’s sure to impress. Don’t worry if you’re new to origami; I’ll guide you through every fold, explaining each step clearly and patiently. We’ll also cover some common pitfalls and how to avoid them, so you can achieve a beautiful finished dinosaur.
Choosing Your Paper: The Foundation of Your Dinosaur
Before we begin folding, let’s talk about the most crucial element: the paper! The right paper can make a world of difference in how your origami turns out. For this dinosaur model, I highly recommend using standard origami paper.
Type: Origami paper is specifically designed for folding. It’s thin enough to make multiple folds without becoming too bulky, yet strong enough to hold its shape. Avoid thicker cardstock or construction paper, as they are very difficult to crease sharply and will result in a clunky, less defined model.
Weight: Most origami paper is around 60-80 gsm (grams per square meter). This is the perfect weight for this project. It allows for crisp folds and good structural integrity.
Size: For beginners, I suggest starting with a larger sheet of paper. A 6-inch (15 cm) square is a great starting point. As you become more comfortable, you can experiment with smaller sizes. Larger paper gives you more room to maneuver your folds and makes it easier to see what you’re doing.
Single or Double-Sided: You have a choice here! For a classic look, use single-sided origami paper. This means one side is colored, and the other is white. This will result in a dinosaur with a colored body and white highlights on the inside of some folds, which can be quite appealing. If you want your dinosaur to be fully colored, you can use double-sided colored origami paper. Alternatively, you can use regular printer paper that you’ve colored yourself or even patterned scrapbook paper, as long as it’s not too thick. Just ensure it’s a perfect square.
Understanding the Base Folds: Building Blocks for Success
Before we dive into the specific dinosaur folds, let’s quickly review a couple of essential base folds that we’ll be using. Getting these right will make the rest of the process much smoother.
Valley Fold: This is the most common fold. Imagine you’re folding a piece of paper in half to create a “V” shape. The crease you make is a valley fold. When you make a valley fold, the paper folds towards you.
Mountain Fold: This is the opposite of a valley fold. Imagine you’re folding a piece of paper in half so that the crease bulges away from you, creating an inverted “V” or an upside-down “V” shape. When you make a mountain fold, the paper folds away from you.
Making Clean Folds: The key to crisp, precise origami is to make your folds as sharp as possible. After you bring two edges or corners together, run your fingernail along the crease. This will ensure the fold is well-defined and stays in place. Take your time with each crease; it’s worth the effort!
Your Origami Dinosaur: A Numbered Walkthrough
Let’s get started! We’ll begin with our square piece of origami paper. Ensure the colored side (if you’re using single-sided paper) is facing down, so the white side is facing up.
- Start by folding the paper in half diagonally. Bring the bottom-right corner up to meet the top-left corner. Crease firmly, then unfold.
- Now, bring the bottom-left corner up to meet the top-right corner. Crease firmly, then unfold. You should now have two diagonal creases forming an “X” on your paper.
- Flip the paper over so the colored side is facing up.
- Fold the paper in half horizontally. Bring the bottom edge up to meet the top edge. Crease firmly, then unfold.
- Fold the paper in half vertically. Bring the left edge to meet the right edge. Crease firmly, then unfold. You now have horizontal and vertical creases.
- Now, we’re going to collapse the paper into a preliminary base, also known as a square base. Gently push the left and right sides of the paper inwards along the horizontal crease you just made. As you do this, the top point should come down towards the bottom point. The existing diagonal creases will help guide this. You should end up with a smaller square. Make sure all the points meet cleanly at the bottom.
- With the open end of the square base facing you, take the top layer of the right flap. Bring the right edge of this flap to meet the center crease. Crease firmly.
- Repeat step 7 with the top layer of the left flap. Bring the left edge of this flap to meet the center crease. Crease firmly. You should now have two flaps folded inwards, resembling a kite shape on top.
- Flip the entire model over to the other side.
- Repeat steps 7 and 8 on this side. Bring the right edge of the top right flap to the center crease, and then the left edge of the top left flap to the center crease.
- Now, take the top triangular point of the kite shape you’ve created on the front. Fold it down over the two flaps you just folded in. Crease firmly.
- Flip the model over and repeat step 11 on the other side. Fold the top triangular point down to meet the flaps underneath.
- We’re going to make the bird base. This involves unfolding the flaps you just folded in steps 7 through 10. So, unfold the right flap (from step 7) and the left flap (from step 8).
- Now, lift the bottom point of the top layer of paper upwards. As you lift it, use the creases you made in steps 7 and 8 to guide the sides inwards. This is a bit like opening a book, but with the paper folding inwards. The point should go all the way up to the top point. This is called a petal fold. Flatten the paper down. You should have a diamond shape with two “legs” at the bottom.
- Flip the model over and repeat step 14 on the other side. Lift the bottom point of the top layer upwards, using the existing creases to bring the sides inwards, and flatten it down. You have now completed the bird base!
- Look at the bird base. You should have two “legs” at the bottom. Take one of these legs and fold it upwards at an angle, about halfway up the diamond shape. This will become one of the dinosaur’s legs. Crease firmly.
- Repeat step 16 with the other leg, folding it upwards at a similar angle on the other side.
- Now, we need to shape the head and tail. Take one of the pointed “legs” that is sticking up (this will be the neck and head). We’re going to perform an inside reverse fold. To do this, gently pull the point outwards slightly, then open up the fold you just made at the tip of this leg. Push the point down inside the fold, so it tucks in, creating a head shape. You might need to experiment with how much you push in to get the desired head angle.
- Take the other pointed “leg” (this will be the tail). We’ll give it a slight bend. Fold the tip of the tail upwards a little bit. You can make this a small mountain fold to give it a gentle curve.
- To make the dinosaur stand, you can gently spread the two “legs” at the bottom slightly. You might need to adjust them a little to find a stable position.
Common Pitfalls and How to Avoid Them
Even with clear instructions, it’s easy to make a few mistakes, especially when you’re starting out. Here are a couple of common issues and how to steer clear of them:
1. Messy Folds:
- The Problem: Folds that aren’t sharp or precise. This can lead to a floppy dinosaur that doesn’t hold its shape well, and the lines won’t look clean.
- How to Avoid It: As I mentioned earlier, run your fingernail along every crease you make. Don’t be afraid to apply a little pressure. Also, make sure you are aligning edges and corners as accurately as possible before you crease. If a fold isn’t quite right, it’s better to unfold it carefully and refold it neatly rather than leaving a messy crease.
2. Confusing the Layers:
- The Problem: In origami, especially when creating bases like the bird base, it’s important to be aware of which layer of paper you are folding. Beginners often accidentally fold through multiple layers when only one is intended.
- How to Avoid It: Pay close attention to the wording “top layer” or “this flap.” When you are asked to fold a flap, isolate that specific piece of paper and fold only that one. If you are unsure, gently lift the layers to see where the crease is intended to go. The preliminary base and bird base steps (steps 5, 7, 8, 14, and 15) are where this is most likely to happen.
3. Inside Reverse Fold Woes:
- The Problem: The inside reverse fold (step 18) can be a bit tricky for newcomers. If not done carefully, the head might look lopsided or not defined.
- How to Avoid It: This fold involves opening up a crease and tucking a point inside. Don’t try to force it. Gently pull the point outwards to create a small opening. Then, use your fingers to guide the point inwards, following the existing crease lines. It might take a couple of tries to get the angle and placement just right. Think of it as creating a little pocket for the point to disappear into.
Varying Your Dinosaur: Unleash Your Creativity!
Once you’ve mastered the basic folds, you can have a lot of fun experimenting!
- Size: As mentioned, starting with larger paper is easier. However, once you’re comfortable, try using smaller sheets of origami paper. You can even fold tiny dinosaurs from small squares, perfect for a desktop friend or a tiny surprise.
- Paper Pattern: Don’t limit yourself to solid colors! Origami paper comes in a dazzling array of patterns – floral, geometric, even animal prints. Imagine a dinosaur with a camouflage pattern!
- Color: Use different colored paper for different parts of the dinosaur if you have double-sided paper. Or, for a more advanced technique, you could even try gluing two different colored squares together before you start folding.
Displaying and Gifting Your Origami Dinosaur
You’ve done it! You’ve created a fantastic origami dinosaur. Now, what to do with your prehistoric pal?
- Display: Your origami dinosaur makes a wonderful desk ornament or shelf decoration. You can even create a little diorama with some craft moss or small stones to make a miniature prehistoric landscape.
- Gifting: These little origami creatures make thoughtful and unique gifts. They are perfect for a child’s birthday, a friend who loves dinosaurs, or even as a charming addition to a handmade card. You can place them in a small box lined with tissue paper for an extra special presentation.
I hope you’ve enjoyed this origami journey. Remember, practice makes perfect, so don’t be discouraged if your first dinosaur isn’t flawless. Keep folding, keep experimenting, and most importantly, have fun!
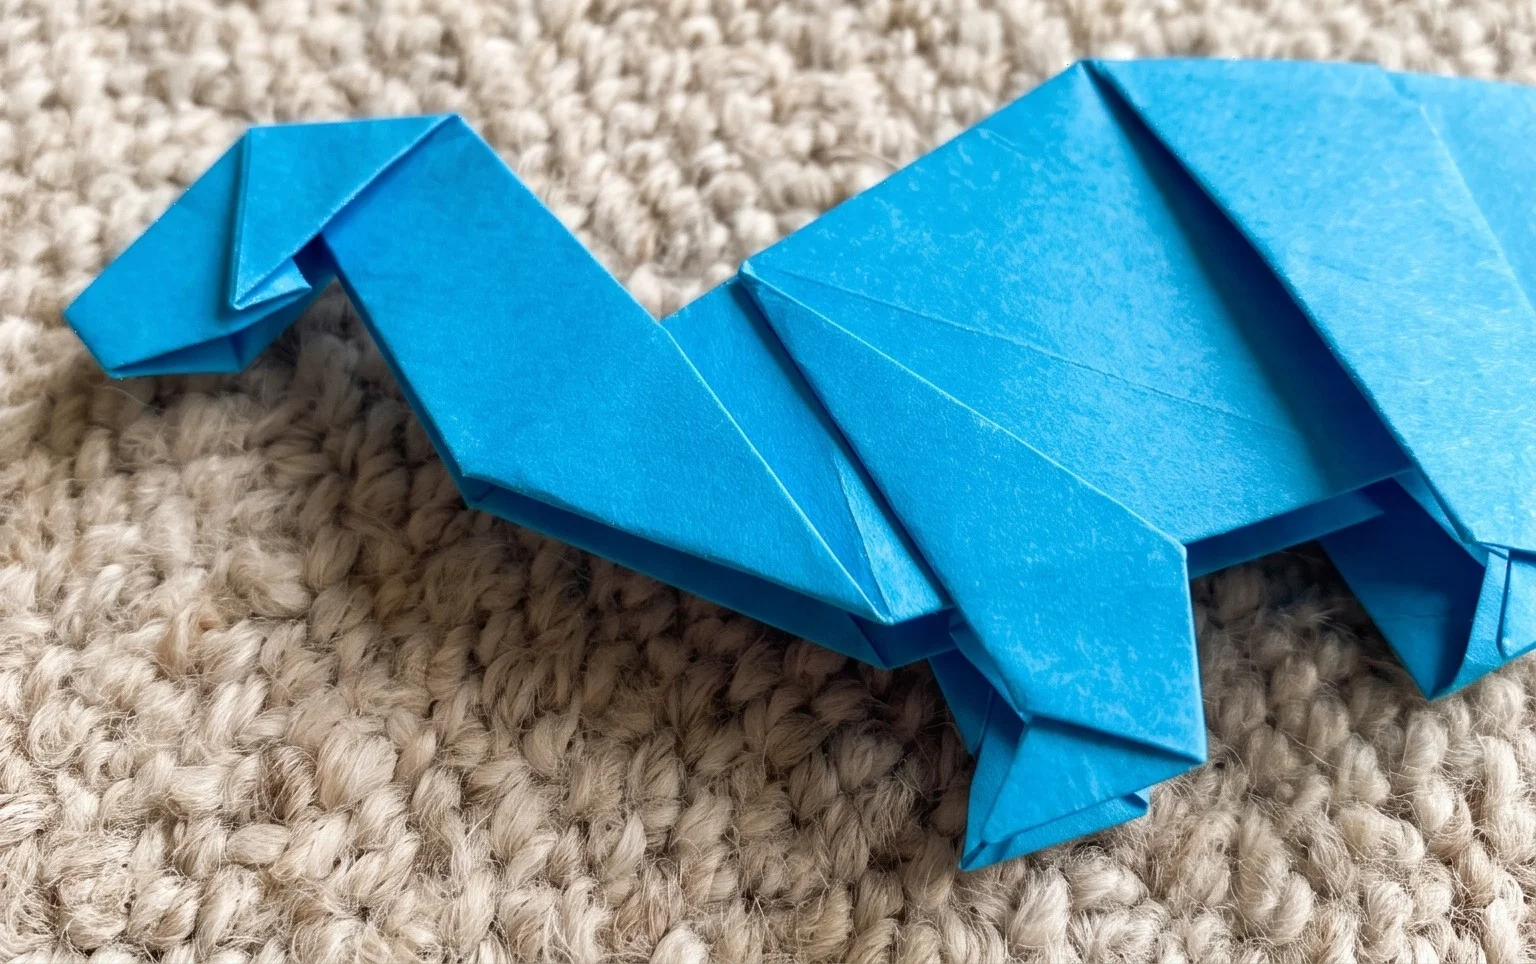
Conclusion
Congratulations on folding your very own origami dinosaur! We hope you enjoyed this fun and rewarding paper project. Don’t worry if your first attempt isn’t perfect; every fold is a step towards mastery, and practice makes progress. Share your amazing creation with friends and family – they’ll be roaring with admiration!
Ready for more adventures? Why not try folding a T-Rex next, or perhaps a gentle Brontosaurus? The world of origami is vast and exciting. We invite you to explore more paper projects and continue your creative journey with us!